It is essential to give your airless paint sprayer a thorough cleaning before and after every use! Proper maintenance and care may assure trouble-free operation and prolong the lifespan of your paint sprayer. Probably not cleaning our sprayers well enough accounts for about half of our sprayer repairs.
Guidelines for Disposal and Cleaning
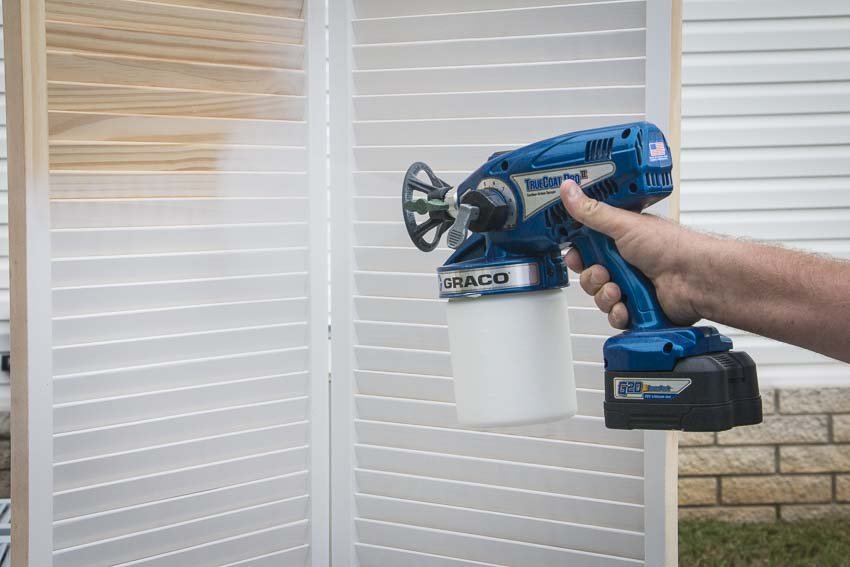
These washing instructions are only for the Titan paint sprayers from the Graco TC Pro PLUS Cordless Handheld Airless Sprayer Parts.
Streamlining Containers
- For information on short shutdown periods (one night to one week), see Short Term Storage.
- After applying oil-based coatings, clean with mineral spirits or a suitable oil-based flushing fluid. Discuss priming: Materials Based on Water or Oil.
- After applying water-based coatings, flush with water. Examine Power Flush, Materials Based on Water or Oil, and Priming.
- Turn off the power supply. Take out the paint bucket’s prime and suction tubes. Let them gradually absorb into the paint.
- Place the suction tube in the bucket holding the flushing fluid and the prime tube in the trash can.
Choosing the Valve
- On the Spray-Prime/Drain Valve, select PRIME.
- Turn the Pressure Control knob to the left (anticlockwise) to obtain the lowest pressure.
- Press the airless gun into the trash can to relieve the pressure inside the hose.
- Remove the guard and tip assembly from the spray gun and immerse it in the cleaning solution.
- Flip the power switch on.
- Slowly align the sprayer’s arrow with the Pail symbol on the Pressure Control knob to activate the pump.
- Once around one-third of the flushing solution is gone, empty the bucket.
- Turn off the power supply. ASK is the setting for the Drain/Spray-Prime valve.
- Squeeze the paint canister to release any remaining paint if you want to keep paint in the hose.
- Flip the power switch on. Keep the spray cannon activated until the flushing fluid starts to come out of the nozzle. Press the button.
- Move the airless spray gun to the waste pail and squeeze the trigger to empty the airless spray gun, hose, and pump into the garbage pail. Continue until all of the flushing fluid is removed from the bucket.
How to Include the Pump?
- Fill the device with Pump ArmorTM storage fluid. Talk about Long-Term Storage.
- Strengthening Flush Cleaning using power flushing is a faster method. Water-based coatings need to be sprayed on it before use.
- Turn off the power supply. Take out the paint bucket’s prime and suction tubes. Let them gradually absorb into the paint.
- Place the suction and prime tube in the garbage pail.
- The power flush attachment for a garden hose is fastened on. Activate the valve.
- Turn on the water. Make that the suction tube, prime tube, and inlet screen are clean of paint.
- Turn the lever to shut off the power flush attachment.
- Remove the inlet screen from the suction tube. Place the inlet screen within the wastebasket.
- Attach the garden hose to the suction tube’s Power Flush attachment. Place the prime tube inside the trash can.
ASK is the setting for the Drain/Spray-Prime valve
Line aligns the Graco Magnum Project Painter Plus 257025 Parts arrow with the pail symbol on the pressure control knob until the pump turns on.
- Pull the lever to open the Power Flush attachment.
- Step fifteen is returning paint from the hose to the paint bucket. One 50-foot (15-meter) hose can hold around one quart (1 liter) of paint.
- Pull the trigger of the spray pistol. Paint bucket with a gun aimed at it.
- Turn on the power switch to begin pumping paint through a hose back into a paint bucket.
- After the water has drained out, keep shooting while pointing it toward the waste pail.
- Maintain the airless spray pistol triggered into the waste pail for a duration of one to two minutes, or until a relatively clear stream of water emanates from the gun.
- The Drain/Spray-Prime valve should be set to PRIME.
- Using the sprayer, fill the waste pail with water and let it run for 20 seconds.
- Turn off the power supply.
- Deactivate the Power Flush link. Turn off the water hose outside.
- Remove the Power Flush connector from the vacuum tube.
- Fill the device with Pump ArmorTM storage fluid. Talk about Long-Term Storage.
- Versions of InstaCleanTM Fluid Filter Cleaning (XR, ProX)
- The InstaClean Fluid Filter prevents paint hose particles from entering the paint system. After each use, pull it out and give it a thorough cleaning to ensure optimal performance.
Conclusion
Unplug the airless spray hose and remove the InstaClean Fluid Filter from the sprayer.
QuickClean filtering Remove the outlet fitting after that. Take off the hose first. Examine the InstaClean Fluid Filter for any debris. If required, clean the filter with water and a gentle brush. Set up the InstaClean Fluid Filter. After placing the open end of the InstaClean filter into the outlet fitting, screw the outlet fitting into the sprayer outlet fitting. Tighten the outlet fitting and reattach the hose to the sprayer. Airless Spray Gun Fluid Filter. Use a brush and the proper solvent to clean the sprayer gun’s fluid filter after each system flush. Replace the airless gun filter if it becomes damaged.